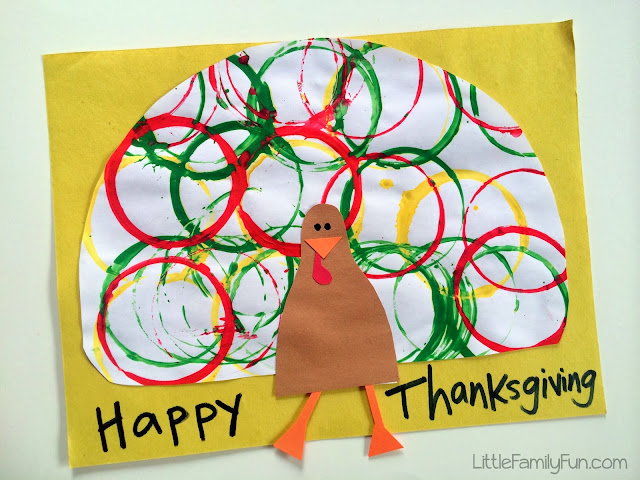
It's Turkey season!
So I created this simple Turkey File-Folder game for LB(4) to practice counting to 20.
He LOVED it. And there are multiple ways you could use this too!
Winner, winner turkey dinner! :)
Prep Work:
- If you want this as a file-folder game, get out a file folder. OR you can just do the same thing on a piece of paper. (I like the file-folder because when it's open it's bigger than any pieces of paper I have. Gives more space for the turkey!)
- So, cut a circle out of a piece of scrap paper. Place it in the middle/bottom of the opened file-folder. (This will be where the turkey body goes)
- Use this scrap circle piece to measure about where the feathers will go. (Just so you have enough room for all 20!)
- I divided the circle into thirds, like a pie. The top 2 will be where the feathers go, 10 on each side.
- Then, I divided each third in half. Finally, in each half I marked so there where five segments each. I hope this makes sense. It's just an easy way to make sure you have space for 20 feathers. :)
- Then with another piece of scrap paper, cut out a feather shape that fits in those segments. It can be skinny on the bottom and more full as it goes up to the tip. (But you don't want it too fat, or it will be hard to fit them all on. The brown one pictured below ended up being too fat. Skinny feathers are good for this game!)

- Next, get out 4 sheets of craft foam in the following colors: red, orange, yellow, green.
- Trace your feather onto each craft foam sheet. 5 feathers for each color.
- Cut out all the feathers. (Again, mine ended up being too fat. I trimmed them all up a bit.)
- Cut out a brown circle out of construction paper and glue it into the file folder.
- Trace an extra feather with a black marker onto the file folder. Start at the top and go down each side.
- Cut out eyes, beak, legs, etc. out of construction paper and glue them onto your turkey.
- In each of the feather shapes on the file folder, write the numbers 1-20.
- On each of the feathers write the numbers 1-20. (If you want to follow a pattern with the colors, just make sure you do so as you are writing the numbers)
Finally done! Time to play!!
How to Play:
- Lay out all the feathers and prompt your child to find the number 1 feather and place it on the turkey. On and on until all the feathers are on! Then count all the feathers on the turkey (good counting practice).
- Another way to play is to turn all the feathers face down. Take turns choosing a feather and placing it on the correct spot on the turkey.
- I was asked to teach singing time to the primary children at church last Sunday. Since we were singing a song about being thankful, I thought I would use this fun turkey to help me teach the song!
- On the back of each feather I put a sticky note with a different way to sing. Here are the variations:
- loud, soft, boys only, girls only, big smile, hand on head, repeat after me, clapping, marching, staccato, crescendo, decrescendo, fast, slow, on tiptoes, close eyes, sway, wearing red only, wearing blue only.
- I taped the feathers on the file folder and had the children pick a number. Whatever the feather said on the back was how we sang the song that time. We did it over and over. It was a lot of fun. :)
- You could also hide the feathers and have your child hunt for them around the house!
It did take some work to make this, but there are just so many fun ways to play!
LB(4) has played it several times, and we'll probably pull it out each year!
Gobble gobble!
HAPPY THANKSGIVING!
 We are a participant in the Amazon Services LLC Associates Program, an affiliate advertising program designed to provide a means for us to earn fees by linking to Amazon.com and affiliated sites.


